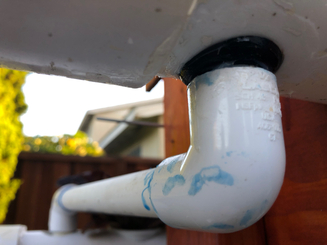
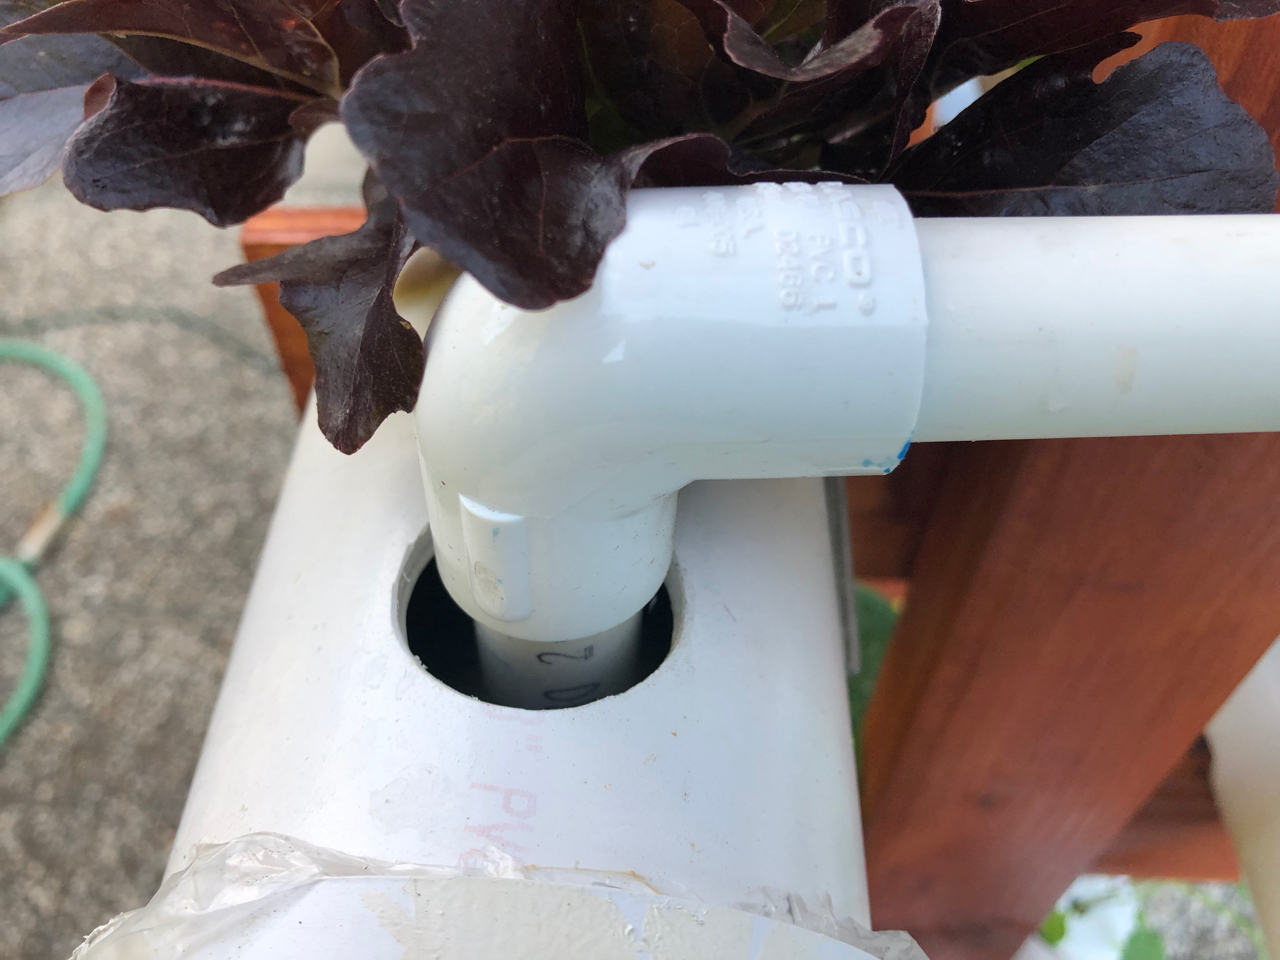
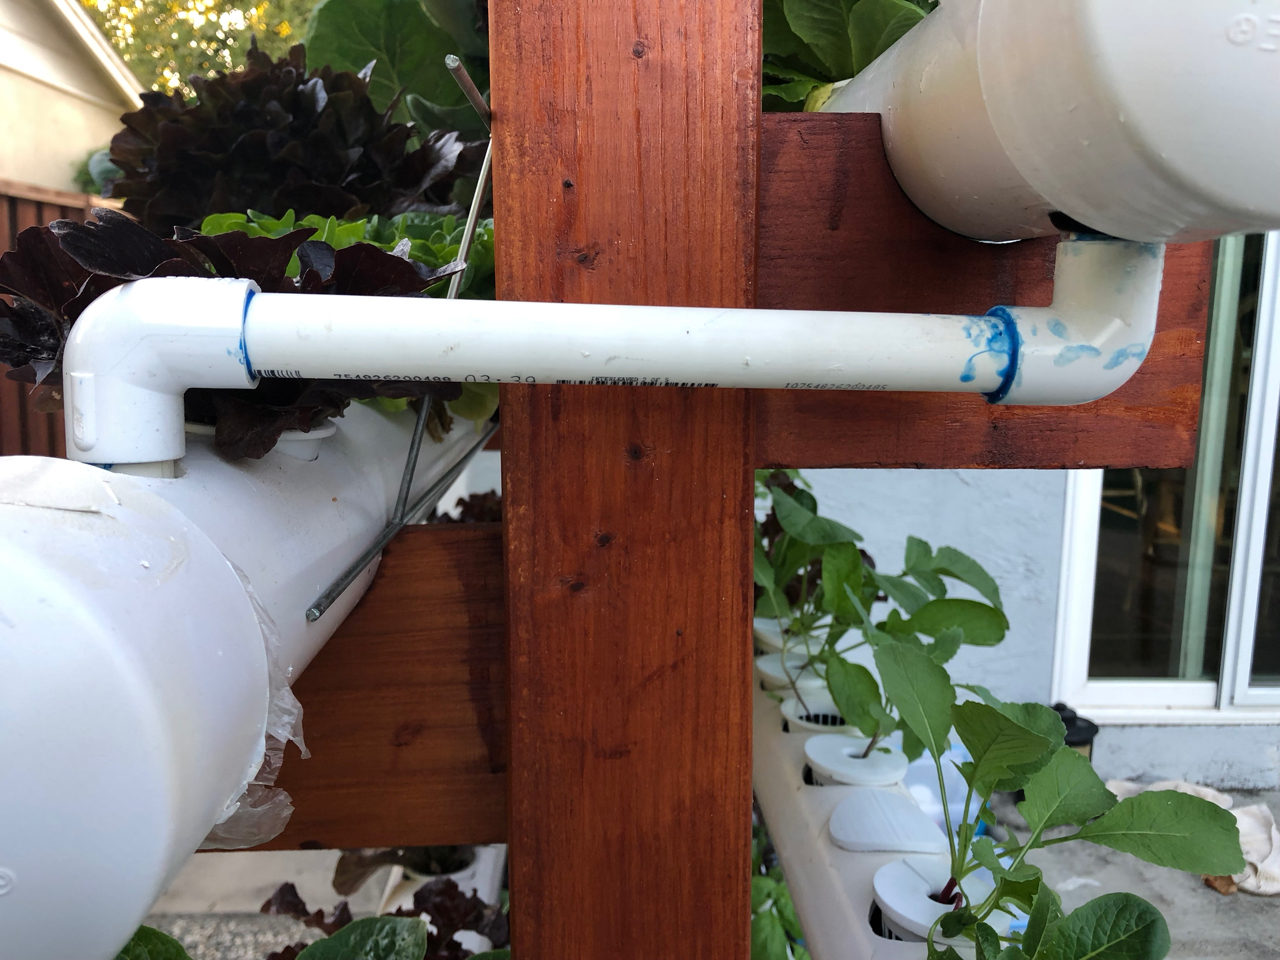
Description
Cascades water from one horizontal growing pipe to the next one.Images


Bill of materials
| Count | Item | ID | Source |
|---|---|---|---|
| 2 | 1/2" PVC piping elbow | Hardware store | |
| 1/2" PVC pipe, approx 2ft | Hardware store | ||
| PVC glue | Hardware store |
Drawings
No distances are given as they depend on the actual distances in your assembled system, and assuming you got everything at perfectly the right distances seems like a bad idea here. Note that most of these pipes will likely have different dimensions in your system and no two will be totally alike.
Required tools
- PVC pipe cutter, or a handsaw and file, to cut the PVC pipe to the correct lengths and deburr
Construction
This is a little tricky, because this pipe needs to be of the correct length and that correct length is likely to be not what you think due to:
- tolerances of the growing pipes and their holes, compared to the blueprints;
- the inherit imprecision how deeply the pipe inserted into the elbow will actually go before the glue starts making adjustments impossible.
Here’s one way how to go about it:
- Glue a (too-long) piece of pipe into an elbow. But before you do that, mark the 1" and 2" positions from the end of the pipe on the pipe. Once the pipe has been glued into the elbow, this tells you far it actually went in. This makes your calculations for future lengths.
- Cut the too-long pipe to the correct length as draining pipe (inflow).
- Then glue on the horizontal pipe, cut it to the best-guess length.
- Glue a (too-long) outflow pipe to the other elbow
- Glue the second elbow to the horizontal pipe, making sure the end pipes on both sides of the assembly are parallel to each other
- Cut the outflow pipe to the right length.